
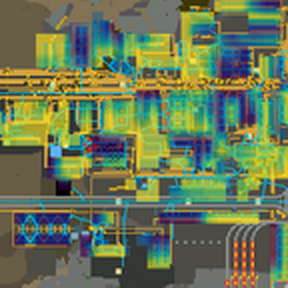
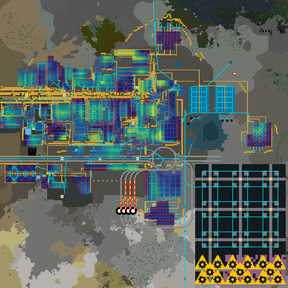
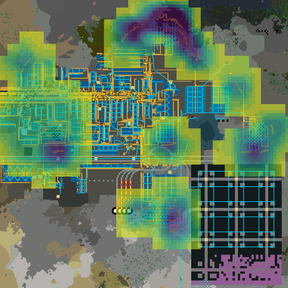
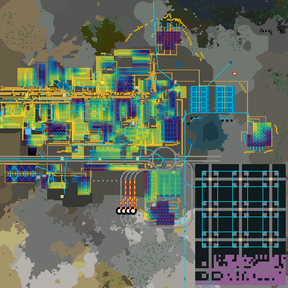
Nine heat map overlays drawn straight into map view.
The native overlays tell you what is happening — pollution here, ore there. These
tell you where to go next. A chunk of sixty half-idle smelters is a bigger
problem than one stalled assembler, and only one of those is visible from the map
today.
Views
Production
- Wasted capacity — idle machines weighted by how many there are. The view that answers "where should I go first."
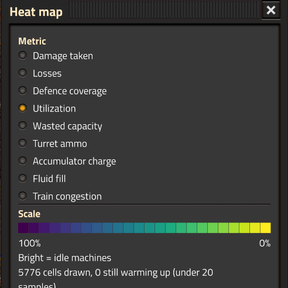
- Utilization — how busy an area actually is.
- Fluid fill — mean fill of the pipe segments crossing each cell. A starved run reads as a dark plateau ending sharply at the pump that bounds it.
Defence
- Damage taken — where you got hit, including while you were away. Log scale, so one nest attack doesn't black out the rest of the map.
- Losses — where buildings actually died. A wall that absorbs 350 damage and one that gets one-shot look identical in damage terms; only one is a breach.
- Defence coverage — how many turrets cover each cell, with thin cover drawn bright. Overlapping fire is the point of a turret line; the gap between two clusters is where they get through.
- Turret ammo — the emptiest turret in each cell, not the average. One dry turret in a wall of full ones is a breach, and a mean hides it.
Infrastructure
- Accumulator charge — which part of the grid is browning out.
- Train congestion — trains stuck on a signal, with no path, or with a full destination. Trains loading at a station are deliberately stopped, not stuck, and are excluded, so a healthy network stays dark.
It costs nothing when you're not looking
A collector runs only while somebody has a view open that needs it. Nobody on
utilization means the machine sampler is not merely idle, it is unregistered.
Damage and losses are the deliberate exception and are always recorded — a damage
map that forgets the raid you missed has no reason to exist.
Beyond that: cells are drawn once and recoloured in place rather than destroyed
and recreated, refreshed on a throttle, and culled to a radius around where you
are looking. If a base would exceed the render budget the cells coarsen
automatically — four times fewer objects at unchanged coverage — and the panel
tells you when it has. Coverage is never truncated to fit, because a partial map
would quietly lie about where the problems are.
Readable without colour vision
Every palette is ordered by brightness, so severity reads by brightness alone and
survives red/green colourblindness. Cause is expressed as separate views rather
than as different hues, for the same reason. Viridis, magma and a pure greyscale
ramp are included.
Multiplayer
View selection is per player — two people can look at different maps at the same
time, at no extra cost. Cell size, palette and transparency are global, because
those are written into the map's render objects.
Controls
| Shortcut button | Toggle the overlay |
Ctrl+H |
Toggle the overlay |
Alt+H |
Next view |
/heatmap [view\|off] |
Pick a view directly |
/heatmap-dump [x y] |
Print a cell's raw counters |
/heatmap-debug |
Label cells with their raw numbers |
Opening the overlay shows a panel for the metric, the current scale, and
appearance. Closing the panel turns the overlay off.
Worth knowing
Defence coverage shows thin cover, not gaps. Only covered ground is drawn, so
ground with no cover at all looks the same as open map rather than lighting up as
maximum danger. Painting true holes needs a notion of where your base ends, which
the mod doesn't have — without it, every uncharted tile on the planet is a hole
in your defences. Read gaps off the shape of the lit region's edge.
Grey means "not measured yet", not "fine". The panel reports how many cells
are still warming up so the two are never confused.
Artillery is excluded from coverage. Hundreds of tiles of range would blanket
a base uniformly and flatten the contrast, and it doesn't stop a breach.
Feedback and bug reports welcome — particularly on large or heavily modded bases,
where the sampling budget and the coarsening threshold are the numbers most likely
to want tuning.