

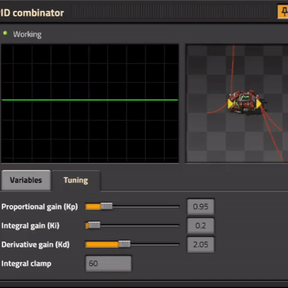
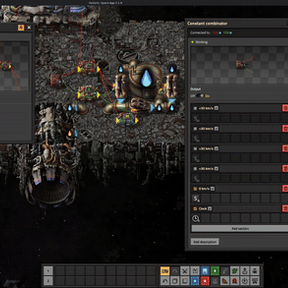





PID Combinator
A combinator that runs a PID controller - the standard feedback algorithm for holding a measured value at its setpoint.
The most obvious use in Factorio is to control space platform's speed.
Quickstart
Follow these steps to wire up a space platform to fly at a set speed. You don't need to control the flow of both  fuel and
  oxidizer - just pick either one. It doesn't matter which.
- Craft and place the PID combinator.
- Wire the space platform hub to the input side of the combinator.
- In the hub's GUI, check
Read speed. This is your process variable .
. - Wire the setpoint source to the input side too, on a different signal. A constant combinator with
 = 100 works fine.
 - Wire PID combinator's output side to a pump.
- In the pump's GUI, check
Enable ifand set the condition to > 0.
> 0. - Open the combinator's GUI. On the Variables tab, make sure your process variable , setpoint and output signals match.
- On the Tuning tab, start with
Kp = 1, Ki = 0, Kd = 0and iterate.
Pulse-width modulation
Quickstart setup gets the platform traveling at roughly the setpoint speed, but the speed will fluctuate because control over the pump is binary. Any positive output signal from the combinator, however small, makes the pump transfer fuel at its full rate of 1200/s. Because the thruster has a significant buffer, it has to burn through that entire amount before the speed can stabilise.
This is where PWM (pulse-width modulation) comes in. It lets us control the pump proportionally to the PID combinator's output. The pump's throughput doesn't change, but it's switched on and off in controlled bursts to limit how much fuel it transfers.
- Craft and place a decider combinator. This will be our clock.
- Short circuit the combinator by connecting the output to its input with a single wire.
- Set the following condition
 < 60; set output to Input count.
 - Wire a constant combinator to the decider's input with = 1. Once done, you will see that the decider combinator will cycle from 0 to 59 every second.
- Connect the output of the "clock" combinator to the pump we built earlier.
- Change
Enable ifcondition to > .
Further improvements
Because of fluid rework in 2.1, the following section may not work properly in 2.0.
PWM setup gets us mostly there, but we can still improve the responsiveness of the system by adding a second pump, which will empty the thruster's internal buffer when the PID combinator's output is negative. For this we need two extra pumps and a storage tank.
Build a fuel supply system according to the following schematic:
[fuel source]┈[pump "input"]>┈[storage tank]┈┬┈┈[pump "in"]>┈┬┈[thruster]
                                             ┊               ┊
                                             └┄<[pump "out"]┄┘
The out pump needs to activate when the PID output is negative, but our clock is positive and we cannot directly compare the two. In order to make this work we need to invert either or . For this example let's invert .
- Wire input pump to the storage tank.
- In the pump's GUI, check
Enable ifand set the condition to < 1000. The number is arbitrary. - Build an additional arithmetic combinator.
- Set it to the following operation: * -1.
- Connect its input to PID combinator's output, and its output to the out pump.
- In the out pump's GUI, check
Enable ifand set the condition to > .
Auto-tuning
The Tuning tab has an Auto-tune button that measures the platform's response and sets Kp, Ki, Kd for you. Fastest way to get a working baseline.
- Wait for the platform to reach a speed you'd want to hold. Type that speed into the Auto-tune target field - pick something near the middle of the range so speed can swing freely on both sides during measurement.
- Pick a rule. If unsure, start with
Astrom-Hagglund: AMIGO PID(works well on slow systems like platform speed) orZiegler-Nichols: No overshoot(calmer response). - Allow negative output - leave off unless you have the two-pump setup from Further improvements. On a single-pump setup enabling this will make auto-tuning fail with no result.
- Press Auto-tune. The system should begin oscillating around the target. The new gains will automatically replace Kp, Ki and Kd values once tuning is done.
Manual tuning tips
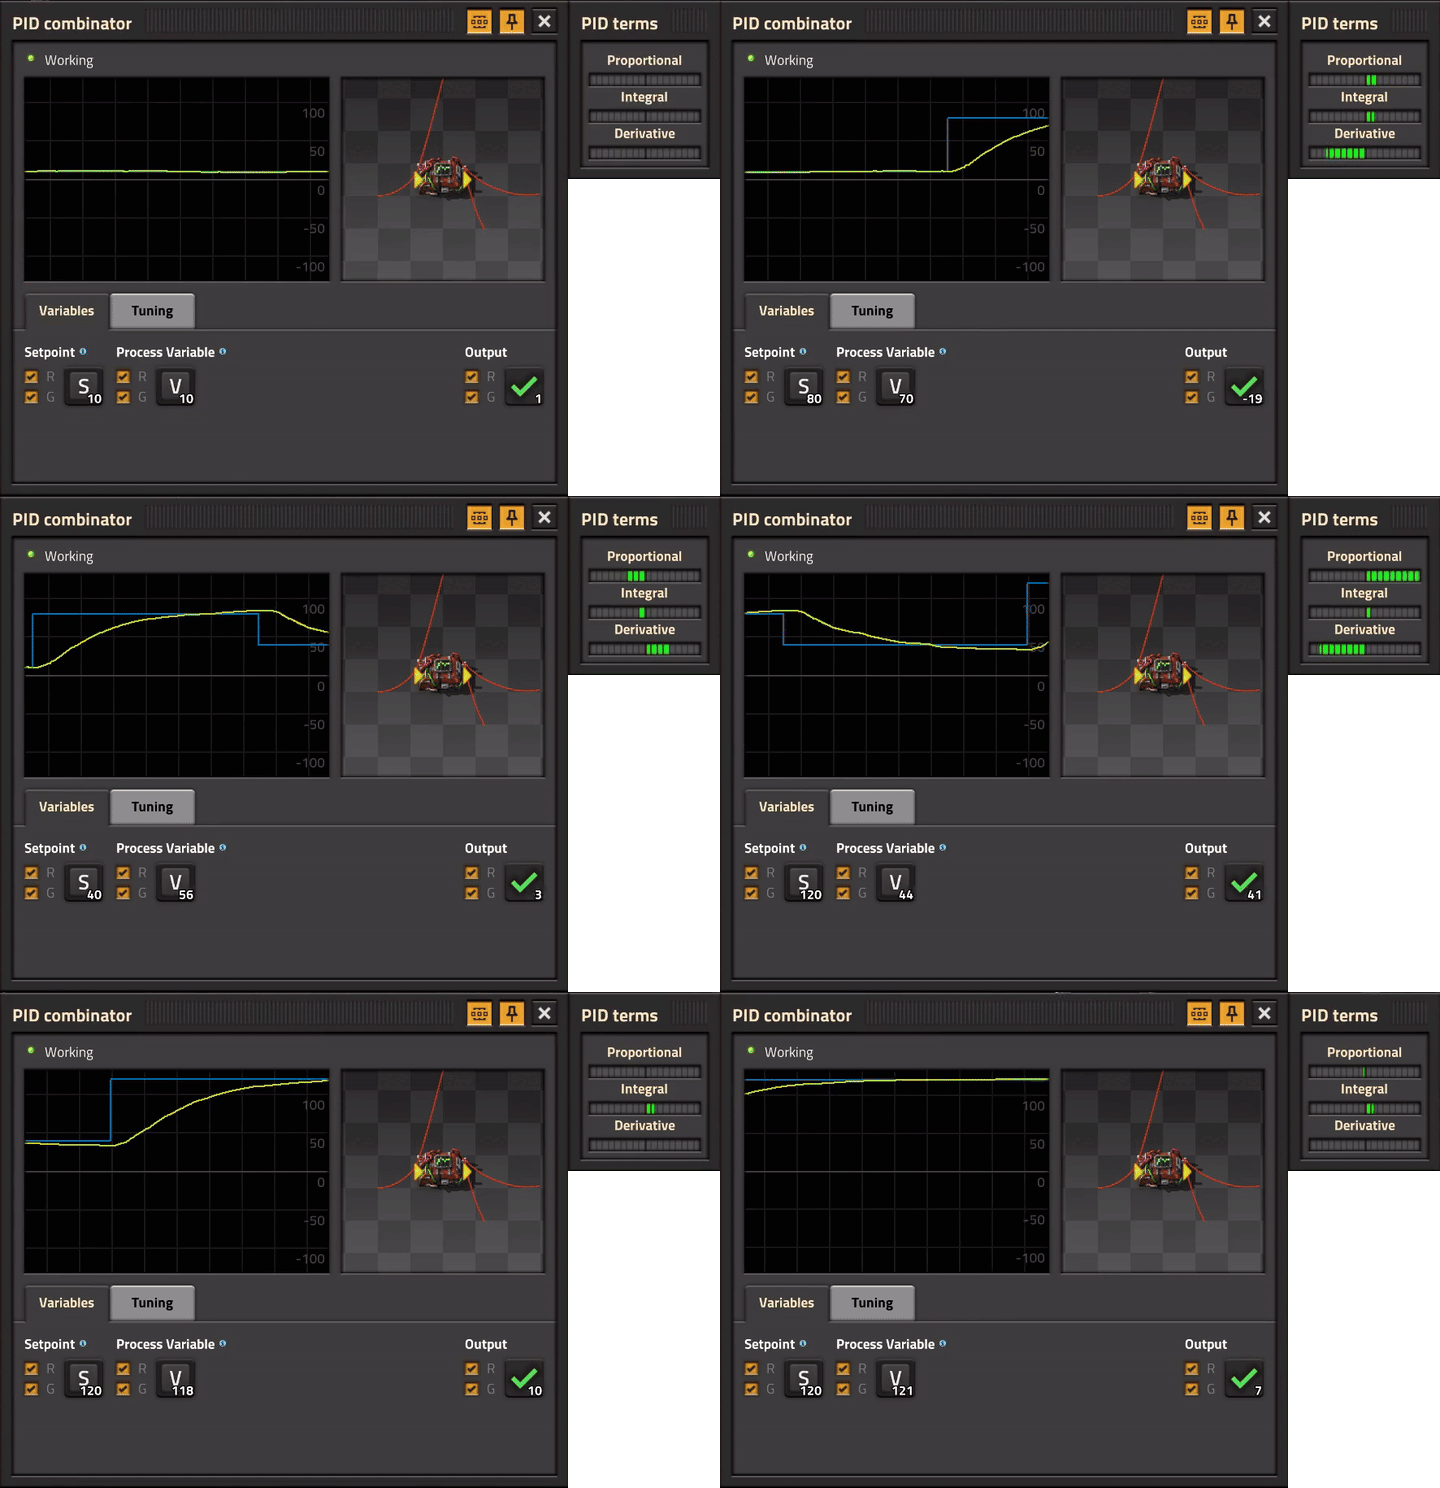
Tune with the combinator's GUI open and pinned. The yellow line on the graph is the current speed, the light blue line is the setpoint. What you want to see after changing the setpoint is the yellow line rising to meet the blue line, without wild swings, within roughly 30 seconds.
A space platform is a slow system: fuel already in the thruster's buffer takes a bit of time to burn off, so every gain change you make takes a while to show up. Be patient - wait 10-20 seconds between tweaks and watch the graph.
- Kp first, with Ki = 0 and Kd = 0. Set the setpoint well away from the current speed (e.g. current 0, target 100) and let the platform accelerate.
- Speed climbs smoothly and nearly reaches the setpoint but rests a few units short: Kp is roughly right - move on to Ki.
- Speed overshoots the setpoint and oscillates around it: Kp is too high. Halve it.
-
Speed climbs painfully slowly: Kp is too low. Double it.
-
Ki next, to close the steady-state error. Start at Ki = 0.05 and raise slowly.
- The speed should drift onto the setpoint over 10-30 seconds and stay there.
-
Speed overshoots after a setpoint change and takes a long time to come back: either Ki is too aggressive or the integral has wound up. Halve Ki, or lower the Anti-windup limit on the tuning tab. Because the PWM output saturates around 60, a much larger limit just means the integral takes forever to unwind after a disturbance.
-
Kd, if the speed keeps swinging. Kd reacts to the rate of change of error, so it damps overshoots and smooths transitions between setpoints. Add it last - start at Kd = 0.1 and raise until residual oscillation flattens out. Because platform speed is reported as an integer it wobbles by +/-1 tick to tick, and Kd amplifies that jitter straight into the pump duty, so keep it modest and stop as soon as the swing is gone.